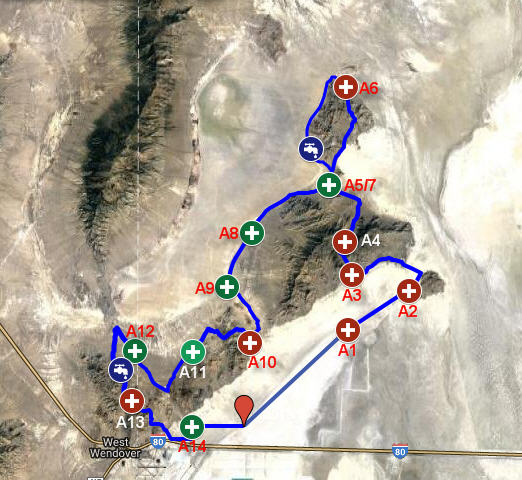
The 100 Mile race starts at 7:00AM FRIDAY on the Bonneville Speedway and runs out to join the roads and trails that traverse the "island"... mountains that seem to float on the Salt Flats.
There is a 36 hour cutoff for an official finish, and all finishers making the cutoff receive a finishers belt buckle. Signup Now!
The course starts and finishes at the same location, so runners won’t have to worry about shuttling vehicles or themselves. The course will also spend several miles in Nevada, so we'll see about getting a few slot machines at those aid stations.
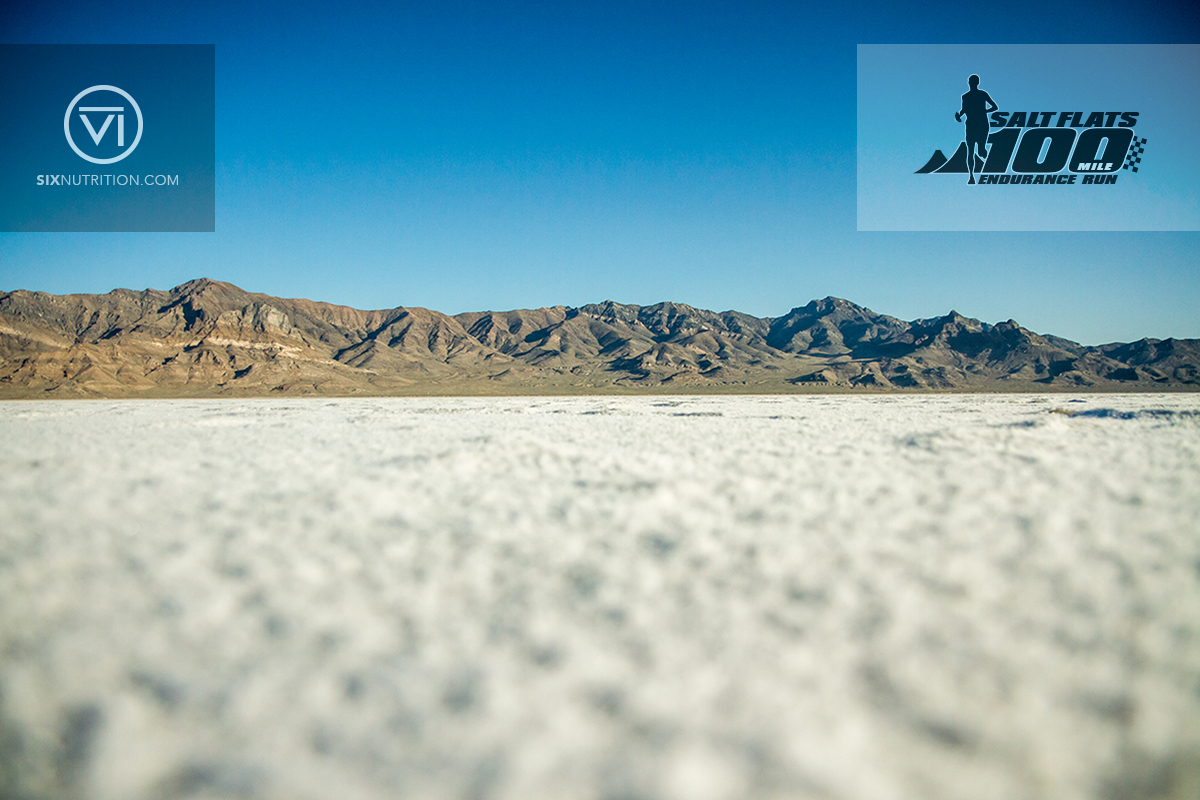
Runners will be traveling on the Salt Flats, dirt roads, atv-trails, over mountain passes, open mud-flats and will have amazing views throughout the course...even at night! Keep your camera handy during the run, as you'll only experience this scenery here!
Course Elevation

Course Marking

The course marking is very straight-forward and easy to follow. From the Start to Aid 2 we use re-bar with ribbons. Through this section, the course is marked approximately every 1/3 mile. After leaving Aid 2, the marking is every 0.3 mile with pin-flags and flour arrows at each major intersection. Intersections are also marked with pin-flags showing the correct direction, and three red pin-flags showing the wrong direction. Additionally, intersections where it might be easy to miss and go the wrong way, we have traffic cones blocking the wrong direction. All the night section pin-flags are also marked with DOT reflectors which your headlamp picks up a couple hundred feet away.
Please note that pin flag colors are announced at the pre-race meeting. 100 milers follow BLUE flagging!
Course Directions
The course begins at the end of the Bonneville Speedway access road on the staging area for the Speedway. Once the air horn goes off, head North following the flagging along the Speedway for 10 miles, passing Honey-Bucket portable toilets at mile 3 and 7, to Aid Station 1 (Salt Flats) at 10 miles.
You’ll be running on nearly 6 feet of solid salt for this entire section!
The surface is generally quite hard, similar to hard-pack dirt. However, if there’s been any moisture, it can be very sticky and you can accumulate some salt cakes on the bottom of your shoes… just keep running and it’ll fall off eventually.
From Aid 1 (Salt Flats), head north following the same flagging for almost three more miles, and then turn east following the same flagging and then pin-flags for about another 3 miles where you’ll reach Aid Station 2 (Now known as NO Post), at 15.5 miles.
You’ll have transitioned off the salt and will now be on the classic firm sand of the salt basin. It’s a little like running on the beach near the water line. The big post stuck in the salt just paid AS2 is a mysterious relic from the past and serves as a great marker.
From Aid Station 2 (NO Post), follow pin-flags north for just over a mile where you’ll intersect the hard-pack, dirt road that connects
Floating Island to Silver Island…turn left following the pin-flags and head west on that road. Follow this road due west for a mile and a half, where it enters the brushy landscape at the foot of Silver Island. The road ultimately winds around to head south, where it joins the Silver Island Loop road. Follow the pin-flagging South, then continue following the pin-flags to Aid Station 3 (Cobb Peak Rd), at 22.6 miles and prepare for the first real climb of the run.
From Cobb Peak Rd, head East up the hill on a winding, hard-pack and rock 4x4 trail which turns North to reach Cobb Peak pass, and Aid Station 4 at 25.5 miles. Aid station 4 is now self service. Please be respectful & keep things clean.
Descend North from Cobb Peak Pass down the canyon, and take note of the dozens of caves in the rock formations to your right… The Native Americans in this area historically used these same caves as shelter, storage, and ceremonial sites. Follow the road out of the canyon 3.3 miles to the intersection with the Silver Island Loop road, and again follow the pin-flags to join the hard-pack, dirt road heading north-west. The road quickly turns more due west, and after another 2.7 miles, you’ll arrive at Aid Station 5 (Hastings Junction) at 31.6 miles. You are now standing in the same place that the Donner-Reed party camped during their fateful journey to California.
From Hastings Junction, follow the main dirt road north, avoiding any of the tempting by-roads.

As you pass over the first hill, you’ll descend onto Crater Island. You’ll pass a few other possible departures from the main road, but stay on the main road headed north. The landscape will begin to change and become more formidable as you climb up to the first pass at 37 miles, then you’ll descend again through a wide valley before the short, rocky climb to the second pass at mile 39.5. Take in this surreal view, as very few humans ever see this part of the Salt Flats, and if the day is clear you’ll be able to see the mountain peaks in Southern Idaho from here. Aid Station 6 (Sheep Camp) is located here, so you can eat while you enjoy the view. Top off your water for the next section... you're going to need it!
From Sheep Camp, descend down the steep, rocky jeep road and as the tracks fade into the sands of the salt desert, follow the pin-flagging left and head south along the edge of Crater Island, following the intermittent ATV tracks and the regular course flagging.
Pay close attention to the course markings and flagging, as the trail here is very ill-defined at best, and virtually non-existent at worst. Keep the brushy parts to your left, and the salt desert to your right and you’ll be on track. The surface here will alternate between relatively firm to almost like flaky pie-crust, so plan on your hip flexors getting a bit of a workout. Follow the curves of the foothills of Crater Island as it takes you South for about 8 miles where you’ll link up with a very rocky jeep road heading East. A water station is located here. This winding road climbs up the hill to where it joins the main road you ran North on as you left Hastings Junction. Head South on the main road back to Hastings Junction at 50.4 miles (Aid 5 and Aid 7).

Looking back north across the pie-crust mud-flats almost 3 miles into the return from Aid 6 to Aid 7
